 DeviantART
 flickr
 linkedin
 picasaweb
Creating Smoke in Photoshop!
In this tutorial, I will show you one of the ways I make smoke in Photoshop.

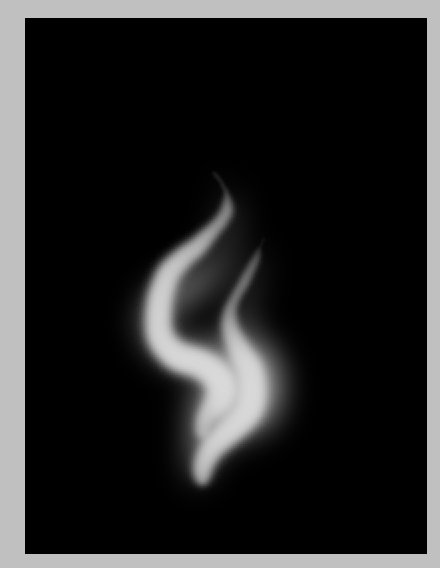
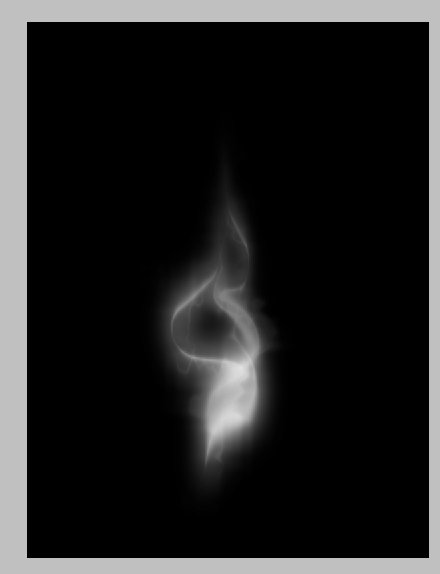
Step 1. Create a document with a black background. On a new layer, draw something similar to what you see here using a soft edged brush. Make sure at all times throughout this tutorial, that the smoke layers are not merged with the black background layer.

Step 2. Duplicate the layer and Gaussian blur it. I used a setting of 23. Then merge the two layers.
Step 3. Duplicate the newly merged layer. alt/click the layer to select it, then go to select/ modify/ contract. I choose 10 pixels. Then invert the selection, and delete. It should now leave a thinner version of what you had on the other layer. Then lower the opacity of the layer behind it.
Step 4. Merge layers. Then duplicate the layer again, and resize it, and move it to somewhere else in the smoke. I moved mine to the top and center, and then flipped it.
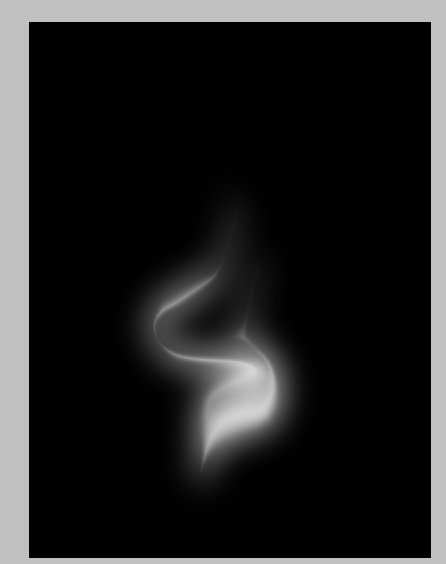
Step 5. I then used the liquify filter on both layers, slightly tweaking both layers to give it more of a smoke effect. Now merge the layer.
Step 6. Now duplicate the freshly merged layers once again. I then went to filters/distort/wave. Use the default settings. Then lower the opacity of the filtered layer. Merge both layers.
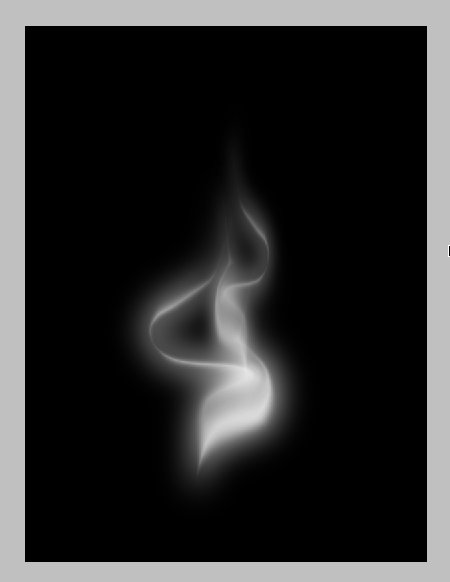
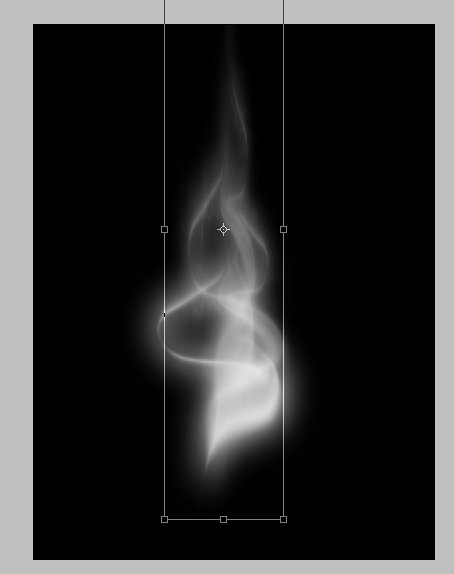
Step 7. Now duplicate the layer and go to control T, and make the smoke thinner and taller. Merge the layers.
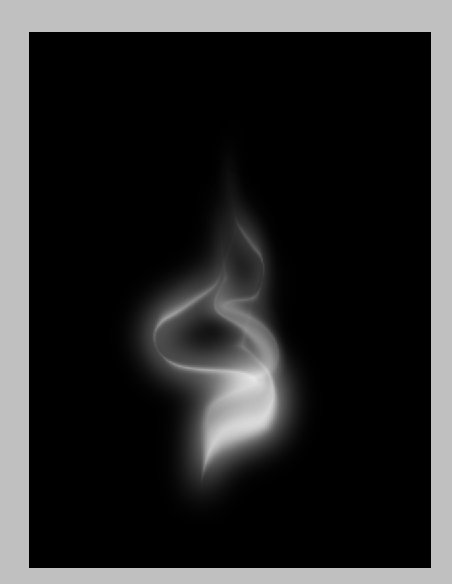
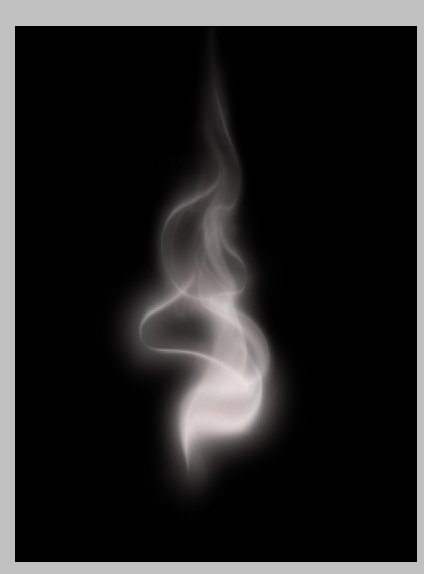
Step 8. I ran it through filter/liquify again. I tweaked it a little more to give it more of a smoky feel.
Step 9. Create a new layer and set it to overly. With whatever color you would like, start to give the smoke some color. I used a reddish color.
Step 10. I repeated step 9, and added some blue to the smoke.
And there you have it. Smoke in Photoshop.
Step 1. Create a document with a black background. On a new layer, draw something similar to what you see here using a soft edged brush. Make sure at all times throughout this tutorial, that the smoke layers are not merged with the black background layer.
Step 2. Duplicate the layer and Gaussian blur it. I used a setting of 23. Then merge the two layers.
Step 3. Duplicate the newly merged layer. alt/click the layer to select it, then go to select/ modify/ contract. I choose 10 pixels. Then invert the selection, and delete. It should now leave a thinner version of what you had on the other layer. Then lower the opacity of the layer behind it.
Step 4. Merge layers. Then duplicate the layer again, and resize it, and move it to somewhere else in the smoke. I moved mine to the top and center, and then flipped it.
Step 5. I then used the liquify filter on both layers, slightly tweaking both layers to give it more of a smoke effect. Now merge the layer.
Step 6. Now duplicate the freshly merged layers once again. I then went to filters/distort/wave. Use the default settings. Then lower the opacity of the filtered layer. Merge both layers.
Step 7. Now duplicate the layer and go to control T, and make the smoke thinner and taller. Merge the layers.
Step 8. I ran it through filter/liquify again. I tweaked it a little more to give it more of a smoky feel.
Step 9. Create a new layer and set it to overly. With whatever color you would like, start to give the smoke some color. I used a reddish color.
Step 10. I repeated step 9, and added some blue to the smoke.
And there you have it. Smoke in Photoshop.
Labels: affordable web site design, Custom web design, Ecommerce Web Design, effects, Smoke tutorial, web site design, Web Site Design Development


0 Comments :
Post a Comment
Subscribe to Post Comments [Atom]